Using VS Code as your primary Python editor
If you have reached this chapter in the book, then I think you can take a step up in the programming world by using a new editor which has a lot more features than our starting editor (mu).
VS Code is an Open Source multi-platform code editor from Microsoft which I personally like a lot. In this chapter, I am going to show you how you can start using it.
Installing VS Code
Download and install VS Code in your Linux distribution following the official guidelines. Please make sure that you are following all the steps given in that page. You should add the project repository properly (either deb or rpm repo) and always verify the package (the gpg signed packages in the repo makes it easier).
Remember that VS Code ships monthly, means every month you will get update of this editor with many new features and bug fixes as required.
Using VS Code
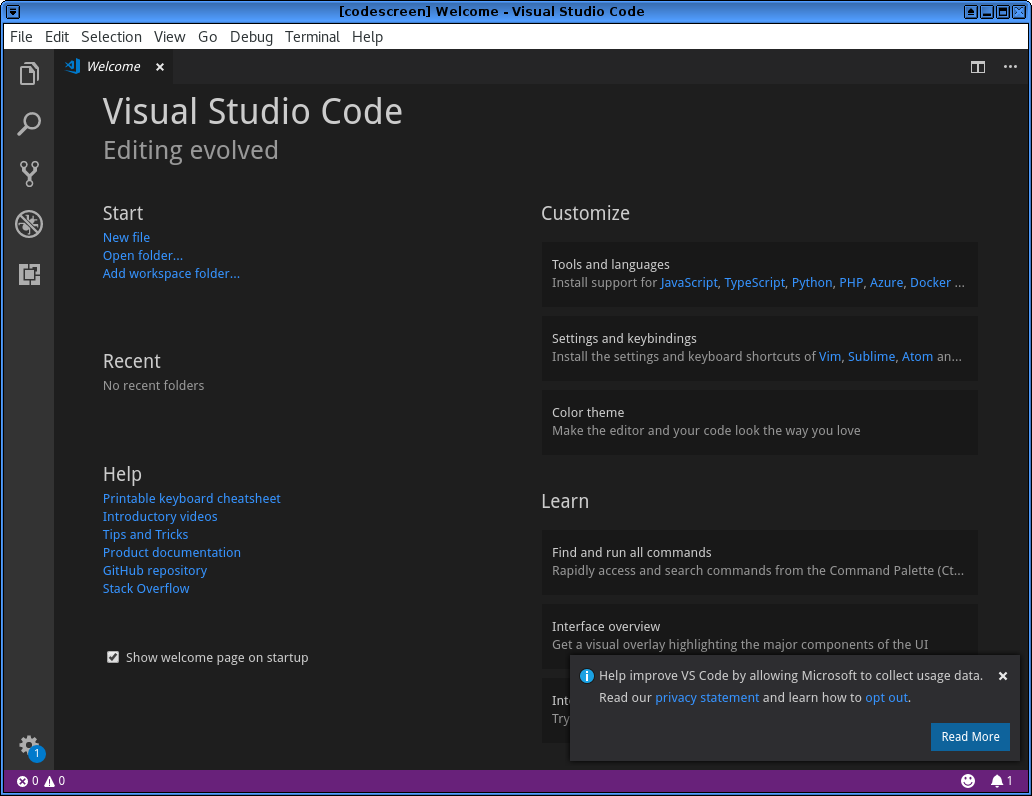
The above is the starting screen of VS Code, you should notice the small information box in the right hand corner.
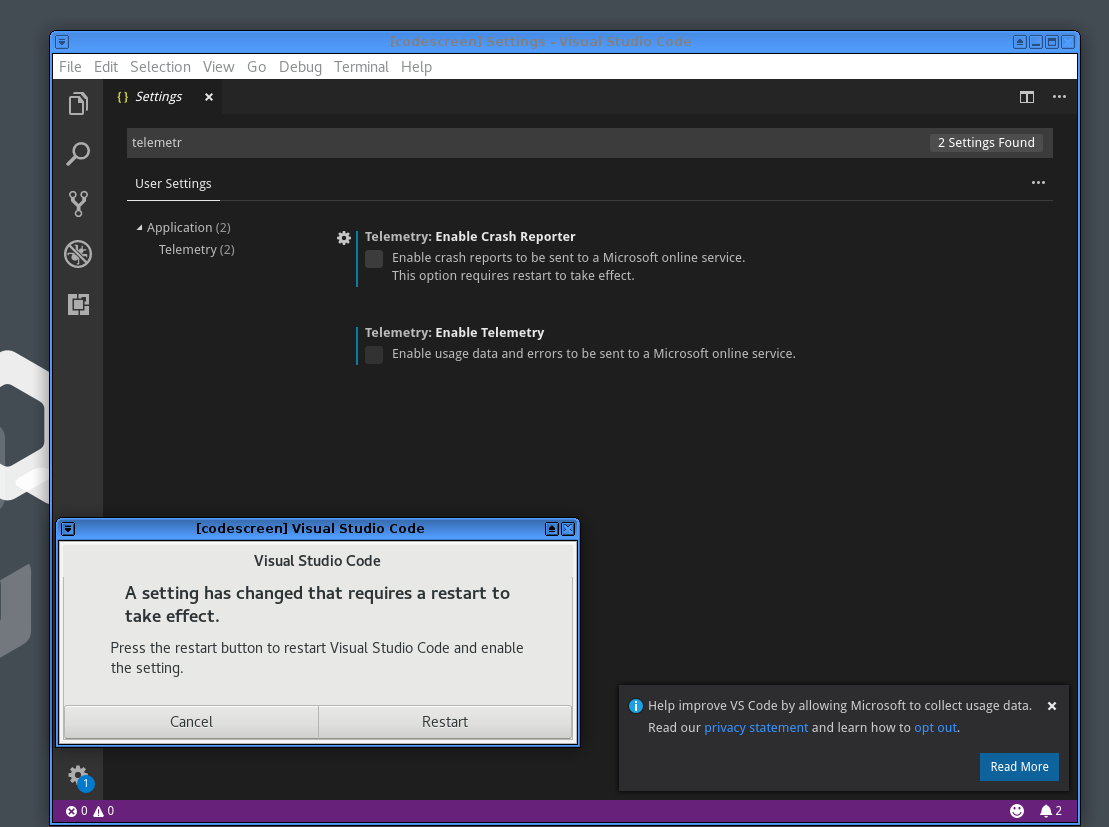
You can disable telemetry and thus sending the commands and other
information that Microsoft collects. Go to the settings page by
using File->Preference->Settings in the menu.
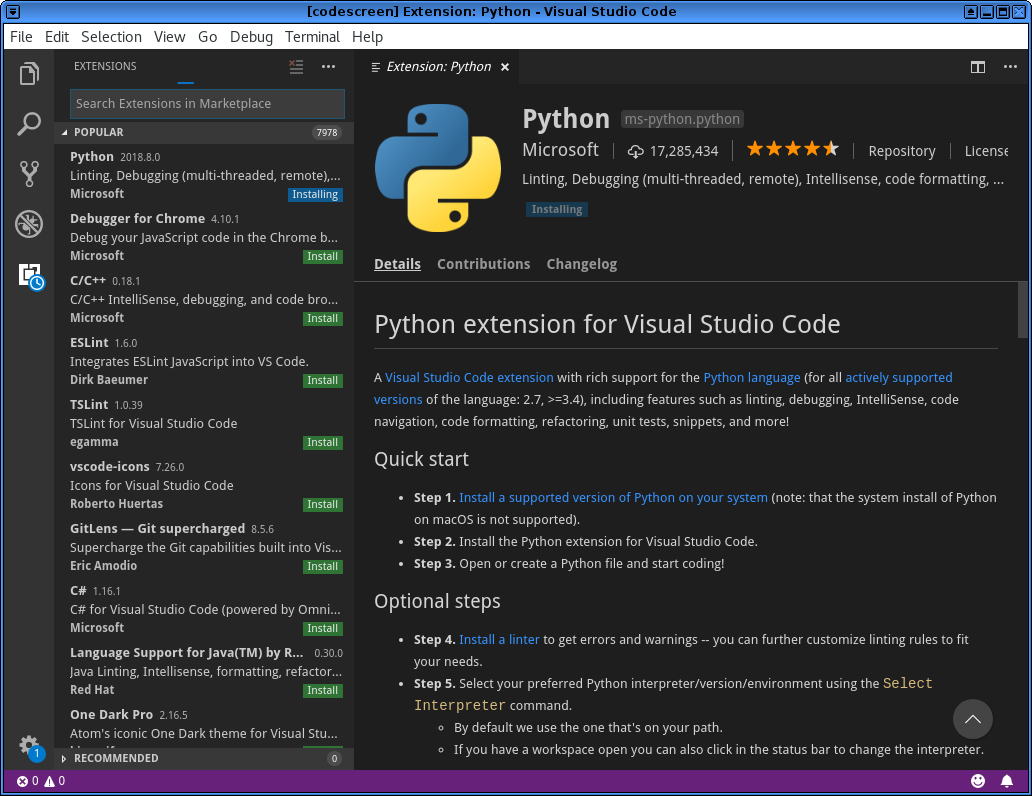
Install the Python extension
The next step would be to install the Python extension in VS Code. Go to “Extensions” from the left hand activity bar, and install the Python extension.
Start working on your code
Now, you can start working on your favorite project. Open up the directory in VS Code, and start editing.
Feel free to go through the VS Code documentation to learn more about the editor.
Important
Learn about various shortcuts from this gist.
Install the Device Simulator Express extension
Follow this page to install the simulator, if you are on Linux, remember to remove the Windows dependency from the requirements.txt file as shown in the GIF file below.